Filed in:
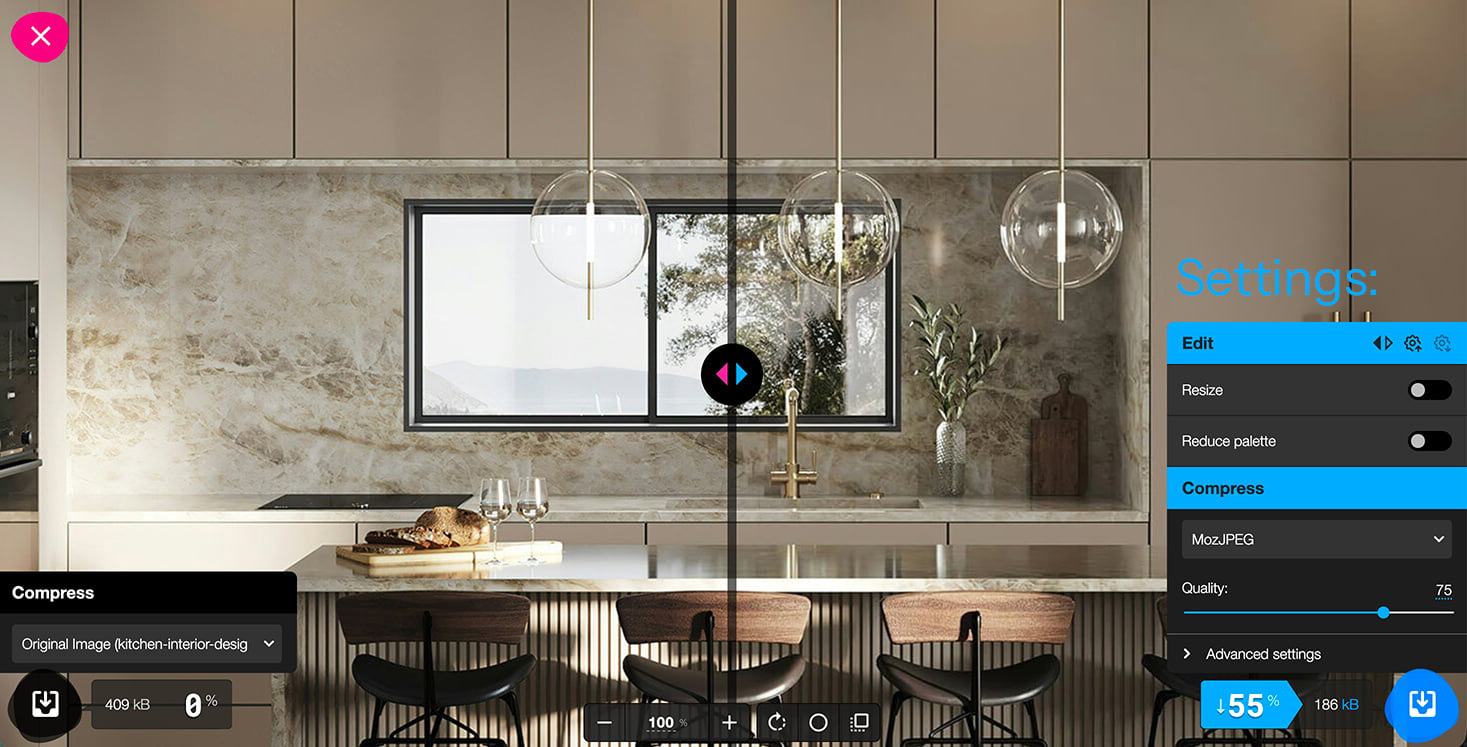
How to Optimise Your Images for Showit
- Slow websites lose visitors, and big, uncompressed images are the most common cause.
- Resize and compress your photos for free in Squoosh before uploading.
- For most portfolio photos, aim for 1600–2000 px wide and 200–400 KB. The size guide below covers other image types.
A simple guide for interior designers who want a beautiful, fast-loading website.
A guide on how to prepare your images before uploading to your new Showit website.
We all know how frustrating a slow-loading website is. Most people won’t wait around for your content to load, and every visitor who leaves before your site loads is an enquiry you might never get.
The good news is that one of the easiest fixes is also the most overlooked: your images. Your portfolio is the heart of your website, and big, uncompressed photos are the number one cause of slow-loading sites. Here’s how to prep your images before uploading them to your new Showit template so they look sharp and load fast.
What’s new in Showit
Showit has recently rolled out some image and performance updates, which you can read about on the Showit News & Updates page. Upgraded Showit sites now automatically serve visitors a smaller, faster WebP version of your images. Showit reports that typical pages used around 44% less image data on mobile after this change. You don’t need to convert anything to WebP yourself, Showit does this for you automatically.
Quick check: look for the green tick beside your design name in Showit. If it’s there, your site is upgraded. If not, head to Site Settings → Upgrade and preview your site first.
Why you still need to edit your images before uploading
Automatic optimisation is a great safety net, but it works best when you start with sensibly sized files. Your original portfolio images will far bigger than any screen needs. Oversized images mean:
- Slower page loading, especially on mobile
- Frustrated visitors who leave before your work appears
- A bad experience for your portfolio, which is your first impression
How to optimise your images for free
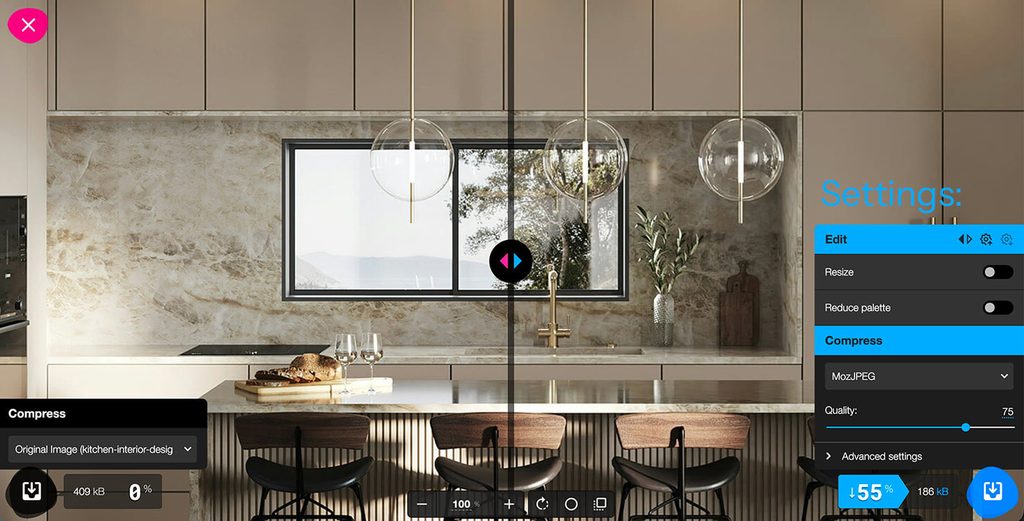
I recommend Squoosh, a free tool that runs in your browser. There’s nothing to download and no sign-up.
- Open Squoosh and drag in your image.
- Resize it. Open the resize panel and set the width to around 2000px for full-width images, or around 1200px for smaller images like gallery thumbnails or blog images.
- Choose your format. Select MozJPEG for photos. It creates a standard JPG, just smaller. Use OxiPNG only if you need a transparent background (like a logo).”
- Adjust the quality slider to roughly 75–80%. Compare the before and after, and stop when you can’t see a difference. Then hit download.
Aim for: most images under about 500 KB, and ideally 200–400 KB. These are guidelines rather than hard rules. Hero images can be a little larger, and you can go lower on smaller images.
Quick reference: recommended sizes
Use this table as a starting point and save it for next time you upload.
| Image Type | Recommended Width | Ideal File Size |
| Full-width image | 2400–3000 px | 300–600 KB |
| Large portfolio photograph | 1600–2000 px | 200–400 KB |
| Project gallery image | 1200–1600 px | 150–300 KB |
| Smaller images & thumbnails | 700–1000 px | 80–180 KB |
| Mobile-specific homepage image | 900–1200 px | 100–250 KB |
| Blog post photograph | 1200–1600 px | 150–300 KB |
A few extra tips
- Rename your files descriptively (e.g. bayview-project-interior-design.jpg) rather than IMG_4821.jpg. It helps with SEO.
- Don’t upload images far larger than they’ll display.
- Optimise before uploading so you only have to do it once.
